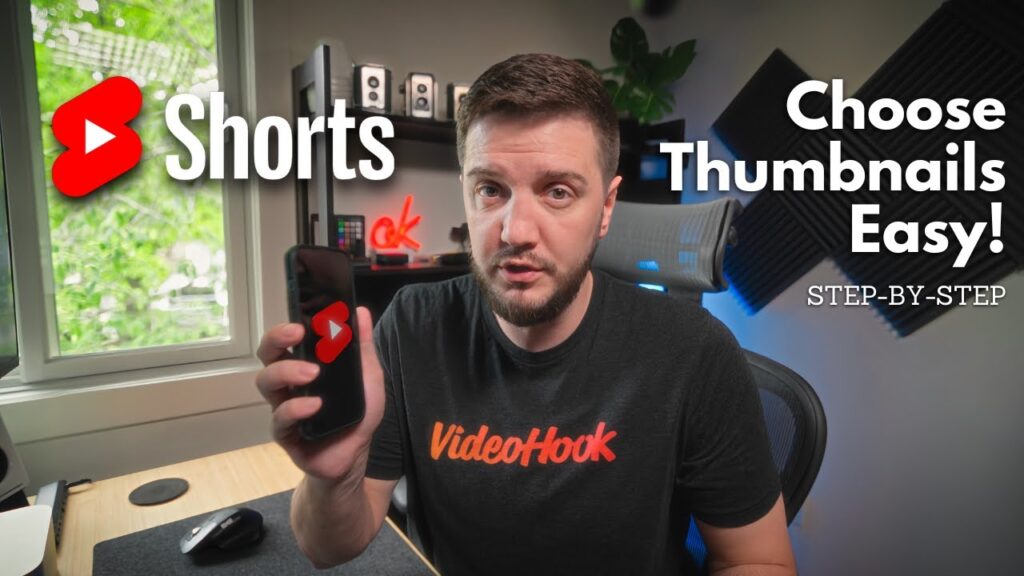
Here is a question I get a lot: how do you put a real thumbnail on a YouTube Short when you only have your phone? Most people assume you need a laptop, Photoshop, and an afternoon. You do not. You can pick the thumbnail for your Shorts right from the YouTube app, and I walk through the whole thing in the video above.
The catch is that Shorts handle thumbnails a little differently than regular long-form videos. For a long video you can upload a custom image. For a Short, YouTube mostly asks you to choose a single frame from the video itself. So the trick is less about designing something fancy and more about knowing where to look and how to set yourself up so a good frame actually exists.
I shoot and edit everything on the road plenty of times, so doing this from a phone is not a workaround for me, it is just the normal flow. Let me show you how it works.
Why the Shorts Thumbnail Is Just a Frame
The first thing to understand is what you are actually choosing. On a Short, the thumbnail is the cover image people see in the Shorts feed, on your channel grid, and in search. YouTube pulls it straight from the frames of your video. You are not painting a brand new image, you are scrubbing through your own footage and stopping on the best single moment.
That changes how you think about the whole video. If there is no clean, eye-catching frame in the clip, there is nothing good to pick. So the work really starts before you ever open the upload screen. A frame with a clear face, a readable expression, or strong motion will always beat a blurry in-between moment.
Setting Up a Good Frame Before You Upload
Because you can only choose from existing frames, the smart move is to plant one on purpose. When I edit a Short, I like to build in a moment that doubles as a thumbnail. Here is what I look for:
- A held shot where my face is sharp and well lit, not mid-blink or mid-word.
- Strong contrast between the subject and the background so it pops at small size.
- A clear expression or gesture that hints at what the video is about.
- If I want text on the cover, I add that text in my edit so it bakes into the frame.
That last point is the one most people miss. Since the Shorts thumbnail comes from the video, any title text or graphic you want on the cover has to already be in the footage. Drop it on a frame at the very start of your edit, hold it for a beat, and now you have a designed thumbnail living inside the clip.
Choosing the Thumbnail in the YouTube App
Once your Short is exported, the rest happens inside the YouTube app on your phone. As I show in the video, the flow is short and forgiving. You upload your Short the normal way, then on the details screen you tap to edit the thumbnail. From there you scrub a little slider across your video and YouTube shows you the frame you are landing on.
Slide slowly. The difference between a great cover and a weak one is often a fraction of a second, and a fast swipe will blow right past the good frame. When you find the one you want, you confirm it and that frame becomes your thumbnail. The general steps look like this:
- Open the YouTube app and start a new Short upload, or open one you already posted.
- Go to the edit or details screen and find the thumbnail option.
- Drag the frame selector across your video and watch the preview.
- Stop on your strongest frame, then save or confirm.
Editing the Thumbnail on a Short You Already Posted
One thing worth knowing is that you are not locked in. If a Short is already live and the auto-picked frame is rough, you can go back and change it. Open the video in your own channel view, tap into edit, and you get the same frame slider. Pick a better moment and save.
This is handy when you post quickly and only notice later that YouTube grabbed an awkward frame. It is also a low-risk way to test. If a Short is not getting the clicks you hoped for, swapping to a stronger frame is one of the easiest things you can change without re-editing anything.
The Takeaway
Thumbnails for Shorts are simpler than people think, but they reward a little planning. You are choosing a frame, not designing from scratch, so the real win is making sure a great frame exists in the first place. Hold a sharp, well-lit moment in your edit, bake in any text you want on the cover, then use the app’s frame slider to land on it.
Do that and you never need a laptop to give a Short a cover that actually earns the tap. It is all in your pocket already.
If you want to see the exact taps, watch the video above, and you can find the cameras and tools I use over on my gear page or read more breakdowns on the blog.