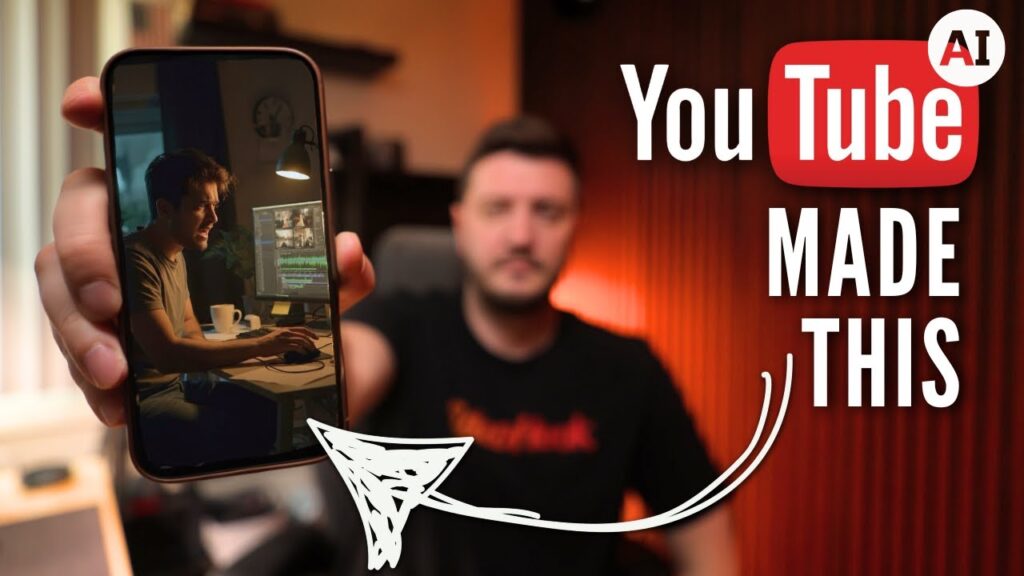
YouTube quietly dropped an experimental tool that makes a Short without a camera. You type a prompt, pick a track, add a voice, and it builds the clip for you. The first time I ran it, I sat there a little stunned. This is wild, and I mean that in the way where you cannot decide if it is amazing or slightly unfair to the rest of us.
I walk through the whole thing in the video above, but I want to break it down here too so you can follow along at your own pace. I shoot for a living on real cameras, so I came into this skeptical. I left thinking it is a genuinely useful starting point, as long as you know what it is good at and where it falls short.
Here is the honest version of how it works and how I would use it.
What this tool actually is
This is an experimental feature inside YouTube’s creation flow. The idea is simple. Instead of filming something, you describe what you want, and the tool generates the video for you. You are not editing footage you shot. You are giving it a text prompt and letting it assemble a Short from that.
Because it is experimental, expect it to change. Features like this get tweaked, renamed, or rolled out in waves. So if your app does not show it yet, that is normal. The workflow below is the core loop, and that part tends to stay consistent even when the buttons move around.
Step one: write the prompt
Everything starts with the prompt. This is the single most important step, and it is where most people undersell themselves by typing something vague like “a cool city video.” You will get a generic result because you gave it a generic request.
Treat the prompt like you are briefing a crew. Be specific about the subject, the mood, and the look. A few things I always try to include:
- The subject and setting, described plainly. Say what is in frame.
- The mood or tone you want, like calm, energetic, moody, or bright.
- A visual style cue, like a time of day, a color feel, or a type of shot.
- What the Short is actually about, so the result has a point and not just pretty frames.
If the first result is not right, rewrite the prompt instead of giving up. Small changes in wording can swing the output a lot. This is the same muscle you build prompting any AI tool. The clearer you are, the closer it lands.
Step two: pick a track
Once you have a clip you like, you choose a track. Music does more heavy lifting in a Short than people realize. The right track sets the pace and tells the viewer how to feel before they even read your caption.
My advice here is to match the music to the energy of your prompt, not the other way around. If you wrote something calm and slow, do not slap a high-energy beat on it just because it sounds fun in the preview. Mismatched music is the fastest way to make a Short feel off, even when the viewer cannot say why. Scrub through a couple of options and trust your gut on the one that fits the mood you described.
Step three: add a voice
The voice layer is what turns a pretty clip into something that communicates. You can add narration so the Short actually says something instead of just looking nice. This is where you deliver your hook, your point, or your call to action.
Write the script the way you would say it out loud. Short sentences. One idea at a time. Lead with the hook in the first couple of seconds, because that is what decides whether someone keeps watching. If you would rather use your own voice or a separate AI voice app for the narration, that works too. The tool is a starting point, not a cage.
Where it shines and where it does not
Let me be straight with you, since that is the whole point of this channel. This tool is excellent for ideas, drafts, and filler when you cannot get out and shoot. It is fast, and fast matters when you are trying to post consistently.
What it does not replace is real footage with real intent. When I shoot something myself, I control every choice, and that personal touch is hard to fake. So here is how I would slot it in:
- Use it to test a hook or a concept before you commit to a full shoot.
- Use it to fill a gap on a day you cannot film anything new.
- Use it to study what a finished Short structure feels like, then rebuild it with your own footage.
- Do not lean on it as your only content if you want a voice people recognize as yours.
The takeaway
YouTube’s no-camera Shorts tool is genuinely impressive, and it lowers the bar for getting started to almost nothing. Type a prompt, pick a track, add a voice, and you have a Short. That is the easiest path to a finished clip I have seen on the platform.
But the tool only does half the job. The prompt, the music choice, and the script are still on you, and that is where good Shorts are won or lost. Use it to move faster, not to think less. The creators who win with tools like this are the ones who bring taste to them.
If you want to see the exact prompts and choices I made, watch the video above. And when you are ready to start shooting your own footage for real, take a look at my gear page for the kit I actually use.