When I started out, video editing felt like the scariest part of making anything. The software looked like a cockpit, every tutorial assumed I already knew the lingo, and most of them wanted me to pay for a subscription before I had edited a single clip. So if that is where you are right now, I get it. Good news: you do not need Adobe, and you do not need to spend a dime.
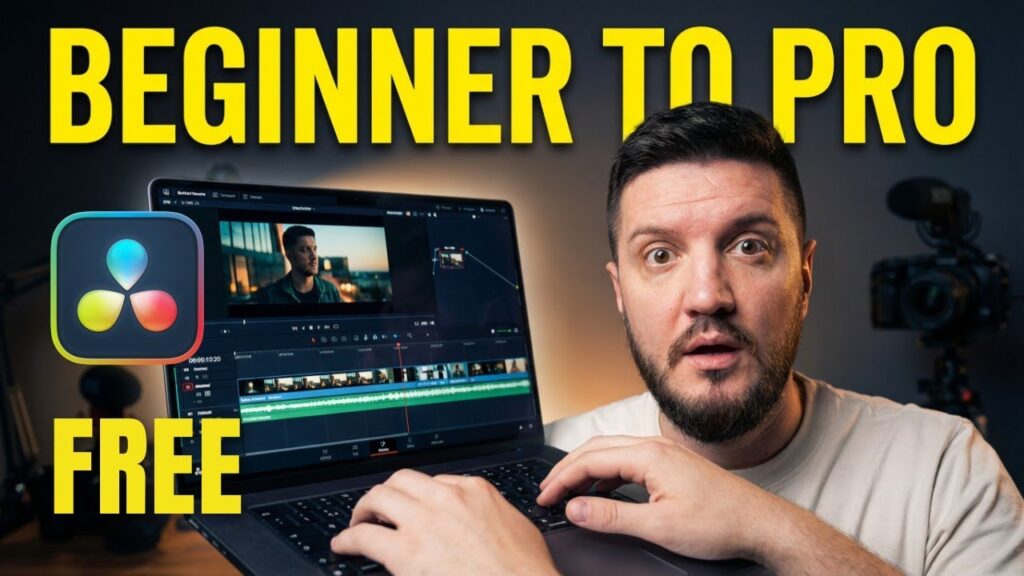
In the video above I walk through a complete edit in DaVinci Resolve using the 100 percent free version. We drag in footage, lay down B-roll, add a voiceover and music, drop in some text, and render the whole thing out for YouTube or social. The point is not to make you a colorist overnight. The point is to get you from a folder of clips to a finished video you can actually post.
Here is the written version so you can follow along at your own pace. Pause the video, do the step, come back. That is how this stuff sticks.
Set Up Your Project and Import Footage
Open DaVinci Resolve and start a new project. The free version gives you almost everything the paid Studio version has, which is wild when you think about it. Most beginners will never hit the limits.
Before you do anything else, drag your video files into the Media Pool. That is the bin on the left side of the screen where all your clips live. A quick habit that saves headaches later:
- Keep all your footage, music, and voiceover in one folder on your drive before you import.
- Drag that whole folder into the Media Pool so nothing goes missing.
- Do not move or rename those files after importing, or Resolve will lose track of them.
Then head to the Edit page using the tabs along the bottom of the screen. That is where most of the work happens, and it is where we are going to live for this edit.
Build Your Timeline With Main Footage
Drag your main clip from the Media Pool down into the timeline at the bottom. That is it. You just started editing. The timeline is your edit read left to right, and the playhead is the line that shows you where you are.
From here you trim. Hover over the end of a clip and drag inward to cut off the dead air. To remove a chunk from the middle, park the playhead and hit the blade tool, or just press B, then click to make a cut. Delete the piece you do not want and slide the rest together. That trim-and-tighten loop is 80 percent of editing, honestly. Get comfortable with it and everything else gets easier.
Layer In B-Roll, Voiceover, and Music
Now we stack. The timeline has multiple tracks, and they layer on top of each other like a sandwich. Whatever sits on a higher video track covers what is below it.
Here is the order I work in, and it is the same flow you will see in the video:
- B-roll: drag your supporting shots onto the video track above your main clip. They cover the screen while your audio keeps playing underneath, which hides cuts and makes things feel polished.
- Voiceover: drop your narration onto an audio track. If you do not have a mic handy, a clean AI voice tool can fill the gap while you are learning, then swap in your own voice later.
- Music: place a music track on the lowest audio lane and pull its volume way down so it sits under your voice, not over it.
For audio levels, watch the meters and aim to keep your voice clear and out front. Music should be felt, not heard. If you are straining to hear the words, the music is too loud. Drag the thin volume line on each clip up or down to balance it.
Add Text and Titles
Text makes an edit look intentional. In the Edit page, open the Effects panel and find the Titles section. Drag a basic Text title onto a video track above everything else, then click it and type in the Inspector on the right.
Keep it simple when you are starting. A clean title at the open, maybe a lower-third with your name, and a closing card is plenty. Stretch the title clip in the timeline to control how long it stays on screen. Resist the urge to animate everything. Restraint reads as professional.
Render It Out for YouTube or Social
Once the edit looks right, you export. In Resolve this is called rendering, and it lives on the Deliver page, the last tab along the bottom.
Resolve has presets that do the thinking for you. Pick the YouTube preset for landscape video, name the file, choose where it saves, then add it to the render queue and hit Render. A few things worth knowing:
- For YouTube, the YouTube 1080p or 4K preset gives you an MP4 that uploads clean.
- For vertical social like Reels or TikTok, set your project or timeline resolution to a 9:16 vertical frame before you export.
- Match the frame rate to whatever you filmed in so motion stays smooth.
When the render finishes you have a finished video file sitting on your drive, ready to upload. That is the whole loop, start to finish.
The Takeaway
You do not need expensive software or a film degree to make a clean edit. The free version of DaVinci Resolve does the job, and the workflow is always the same: import, build your main timeline, layer in B-roll and audio, add a little text, then render. Once that loop is muscle memory, the only thing that gets better is your taste, and that just takes reps.
The best thing you can do right now is open the program and edit something short and ugly. Finished beats perfect every single time. If you want to see the gear I shoot and edit with, check out my gear page, and head to the blog for more walkthroughs like this one.